
May 26, 2026
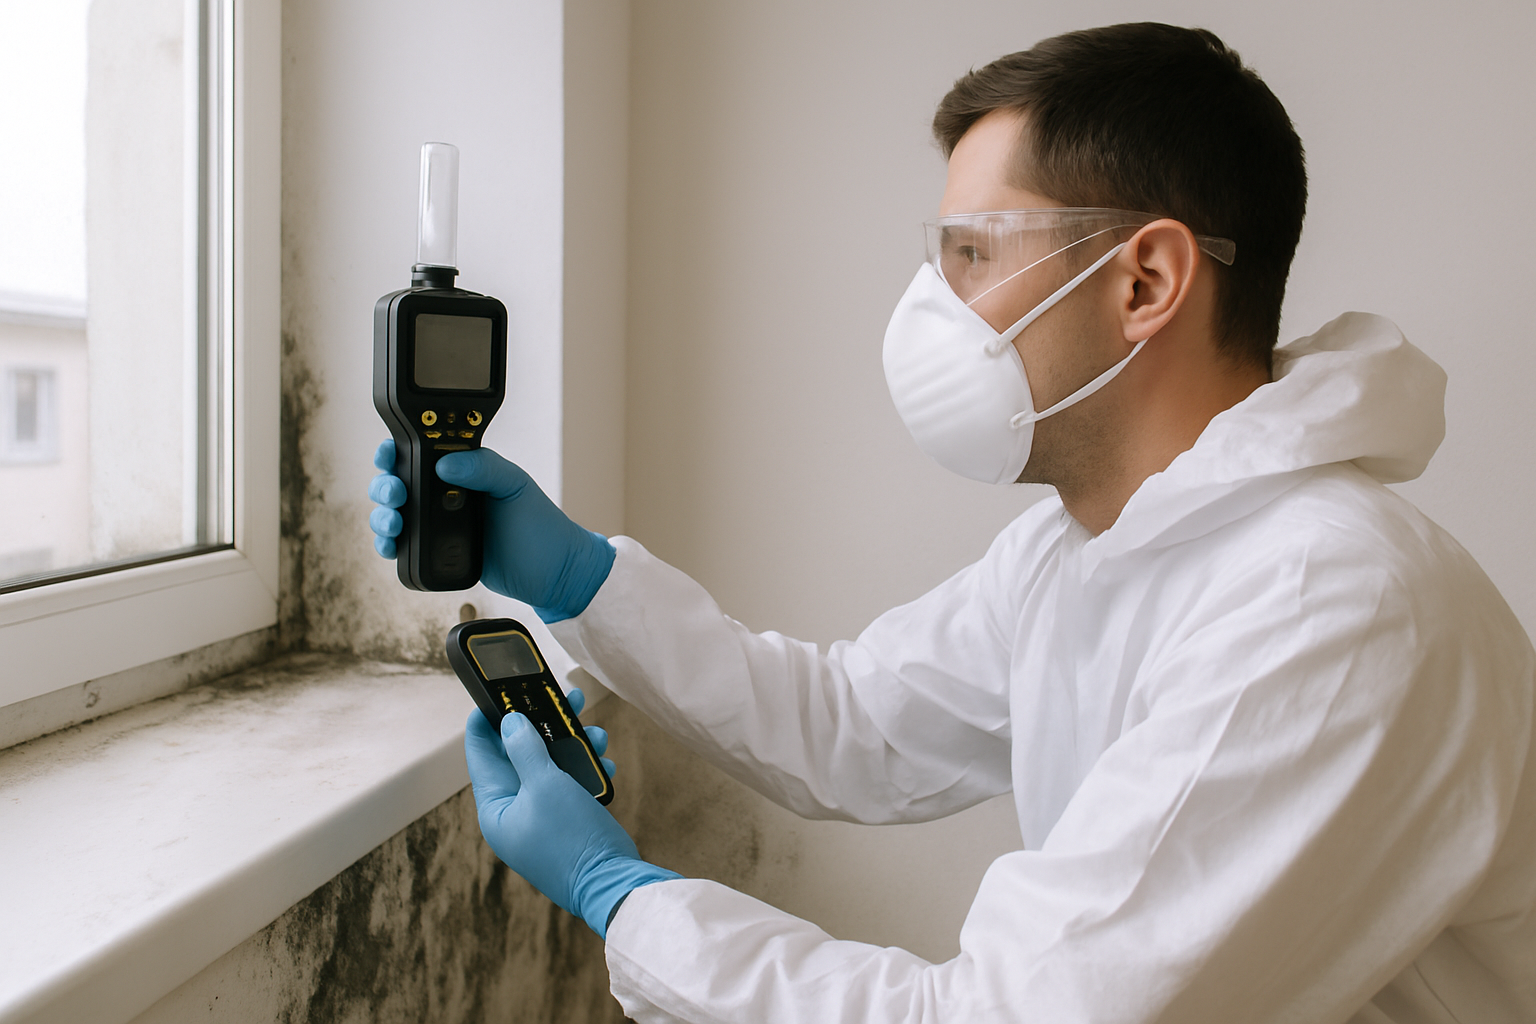
The Ultimate Guide to Air Quality Mold Inspection: Protect Your Health and Home
Indoor air quality has a direct impact on your health, comfort, and the long-term value of your property. One of the most common and dangerous indoor air contaminants is mold. A professional air quality mold inspection can help you identify hidden mold problems, improve indoor air quality, and protect your family and investment. This guide explains everything you need to know about mold air testing, how it works, what to expect, and when to call in an expert.
What Is an Air Quality Mold Inspection?
An air quality mold inspection is a specialized assessment that evaluates the level of mold spores in your indoor air and identifies conditions that allow mold to grow. Unlike a simple visual check, an air quality inspection uses sampling equipment and laboratory analysis to detect mold that may be invisible or hidden behind walls, under floors, or in HVAC systems.
Key goals of an air quality mold inspection include:
- Measuring airborne mold spore levels
- Identifying mold types that may be present
- Locating potential moisture or water intrusion sources
- Evaluating overall indoor air quality and ventilation
- Providing recommendations for mold remediation and prevention
Professional mold inspectors often combine air sampling with surface sampling, moisture readings, and a detailed visual inspection to build a complete picture of your home’s air quality.
Common Signs You Need an Air Quality Mold Inspection
Mold can be visible, but in many cases it hides within building materials or circulates through the air via your heating and cooling system. If you notice any of the following issues, it is wise to schedule an air quality mold inspection as soon as possible.
Health Symptoms
Mold affects people differently, but common symptoms related to poor indoor air quality and mold exposure include:
- Persistent coughing, sneezing, or congestion
- Worsening allergies or asthma flare-ups indoors
- Itchy or watery eyes, sore throat, or sinus irritation
- Unexplained headaches, fatigue, or brain fog
- Increased respiratory issues in children or elderly occupants
If you notice that symptoms improve when you leave the home or office and return when you come back, indoor mold may be a factor.
Visible and Odor Clues
Beyond health symptoms, certain physical signs point to mold growth and poor air quality:
- Musty, earthy, or “old basement” odors that persist
- Visible spots or patches on walls, ceilings, or around windows
- Discoloration on drywall, wood, carpet, or insulation
- Condensation on windows or walls
- Peeling paint, bubbling finishes, or warped building materials
These signs often indicate hidden moisture or long-term humidity issues that support mold growth.
Moisture and Water Damage
Any history of moisture problems is a strong reason to request an air quality mold inspection, even if mold is not clearly visible. Risk scenarios include:
- Recent or past flooding or sewer backups
- Roof, plumbing, or appliance leaks
- Basements or crawl spaces with dampness or standing water
- High indoor humidity (usually over 60%)
- Condensation around HVAC ducts or vents
Mold can start growing within 24–48 hours of water intrusion, and airborne spores can spread quickly throughout a property.
How Professional Mold Air Testing Works
Understanding the basic steps of an air quality mold inspection helps you know what to expect and how to prepare. While each company’s process may differ slightly, most professional mold inspections follow a similar pattern.
1. Initial Consultation and History
The inspector begins by gathering information about your property and concerns, such as:
- Age and construction type of the building
- Recent renovations, leaks, or water damage
- Areas where odors, staining, or visible mold have appeared
- Health symptoms reported by occupants
- HVAC system type and maintenance history
This background helps the inspector target potential problem areas and choose the right testing strategy.
2. Visual Inspection and Moisture Assessment
Next, the inspector performs a detailed walkthrough of the property, focusing on:
- Basements, crawl spaces, and attics
- Bathrooms, kitchens, and laundry rooms
- Window frames, exterior walls, and roof penetrations
- HVAC equipment, ductwork, and filters
They may use tools such as:
- Moisture meters to detect damp materials
- Infrared cameras to identify hidden water damage
- Hygrometers to measure indoor humidity levels
3. Air Sampling for Mold Spores
Air sampling is the core of an air quality mold inspection. Common methods include:
- Spore trap sampling: A calibrated pump draws air through a cassette that collects spores on a slide. This is one of the most frequently used methods.
- Viable (culture) sampling: Air is pulled onto a growth medium to identify living mold that can grow and be cultured in a lab.
- Outdoor reference sampling: An outdoor air sample is collected to compare indoor levels against the natural background of mold spores.
Inspectors typically place air sampling cassettes in:
- Main living areas and bedrooms
- Basements or crawl spaces
- Areas with visible mold, odors, or moisture
- Near HVAC returns or supply vents
Sampling usually takes 5–15 minutes per location, depending on the equipment and volume of air being tested.
4. Additional Testing (If Needed)
Depending on what the inspector finds, they may recommend additional services such as:
- Surface swab or tape lift samples from visible mold growth
- Bulk samples of damaged building materials
- VOC (volatile organic compound) testing for chemical pollutants
- Asbestos or lead sampling in older buildings undergoing renovation
5. Laboratory Analysis and Report
After sampling, the cassettes and samples are sent to an accredited laboratory. Under a microscope, analysts identify and count mold spores, then compare indoor and outdoor levels. Your final report may include:
- Types and concentrations of mold spores found
- Comparison of indoor vs. outdoor spore counts
- Identification of any toxin-producing or allergenic mold species
- Areas of concern and likely moisture sources
- Detailed recommendations for remediation and prevention
Turnaround time for results typically ranges from 24 hours to several business days, depending on the lab and service level chosen.
Understanding Your Mold Air Test Results
Reading a mold inspection report can be confusing if you are not familiar with the terminology. While you should always review the results with your inspector, the following points provide a general framework.
Normal vs. Elevated Mold Levels
Some mold spores will always be present indoors, because doors and windows open and close, and people and pets bring spores in on clothing and fur. The key question is whether levels are elevated compared to the outdoor air or typical indoor environments.
Inspectors and labs look for:
- Indoor mold levels significantly higher than outdoor levels
- Indoor presence of mold types that are rare or absent outdoors
- Unusual dominance of a single mold type indoors
- High levels of water-damage indicators such as Stachybotrys, Chaetomium, or certain species of Aspergillus and Penicillium
Types of Mold and Health Considerations
Your report may list many different mold genera and species. Some commonly encountered indoors include:
- Cladosporium: Common in both indoor and outdoor air; often found on wood, textiles, and damp surfaces.
- Aspergillus and Penicillium: Frequently associated with water-damaged materials; certain species can trigger allergies and respiratory issues.
- Stachybotrys chartarum: Often called “black mold”; typically associated with chronic water damage and cellulose-based materials such as drywall.
- Chaetomium: Another water-damage indicator; often found where there has been chronic moisture or leaks.
The presence of a specific mold type does not automatically mean your home is unsafe, but elevated amounts of moisture-related species signal a need for prompt remediation and moisture control.
Limitations of Air Testing
Air quality mold inspections are powerful diagnostic tools, but they do have limitations:
- They represent a snapshot in time; spore levels can fluctuate with activity, HVAC cycles, and weather conditions.
- Hidden mold in walls or ceilings may not always show up in air samples if it is not actively releasing spores into the sampled area.
- Improper sampling techniques or equipment can lead to misleading results.
For these reasons, always interpret test results in the context of a thorough visual inspection, building history, and moisture assessment.
How to Prepare for and Choose an Air Quality Mold Inspection
To get accurate, actionable results from an air quality mold inspection, preparation and choosing the right professional are crucial.
Preparing Your Home or Building
Before your inspection and air testing:
- Keep windows and exterior doors closed for 12–24 hours, if possible, to stabilize indoor air conditions.
- Avoid heavy cleaning or vacuuming for 24 hours before testing, as this can temporarily alter airborne spore levels.
- Do not use air purifiers, ozone generators, or high-efficiency filtration devices for at least 24 hours prior to sampling, unless your inspector advises otherwise.
- Make sure the inspector can access attics, basements, crawl spaces, mechanical rooms, and any areas with known leaks or stains.
- Prepare a list of concerns, past water issues, and health symptoms to discuss with the inspector.
Choosing a Qualified Mold Inspector
Not all inspection services are equal. When selecting an air quality mold inspector:
- Look for certifications from reputable organizations, such as mold inspection or indoor air quality associations.
- Ask about training, experience, and how many mold inspections they perform each year.
- Confirm that they use accredited laboratories for sample analysis.
- Request a sample report to see how clear and detailed their findings and recommendations are.
- Verify that they carry appropriate professional and liability insurance.
Be cautious of companies that both inspect and sell remediation services, especially if they offer “free” inspections. An independent, third-party inspector reduces the risk of conflicts of interest.
What Happens After the Inspection
Once you receive your report, the next steps typically include:
- Discuss the results: Review the findings with your inspector and ask questions about any unfamiliar terms or concerns.
- Plan remediation: If elevated mold levels or significant moisture issues are found, consult with a qualified mold remediation contractor to develop a cleanup plan.
- Address moisture sources: Fix leaks, improve drainage, and adjust ventilation or humidity control to prevent mold from returning.
- Consider post-remediation testing: After cleanup, a clearance inspection with air testing can verify that mold levels have returned to normal.
Preventing Mold and Maintaining Healthy Indoor Air Quality
After completing an air quality mold inspection and any necessary remediation, long-term prevention is essential. A healthy home strategy focuses on moisture control, ventilation, and maintenance.
Moisture and Humidity Control
- Keep indoor humidity between 30% and 50% using dehumidifiers or HVAC settings.
- Use exhaust fans in bathrooms, kitchens, and laundry rooms.
- Repair plumbing, roof, and window leaks promptly.
- Improve grading and drainage around your foundation to keep water away from the structure.
- Insulate cold surfaces where condensation tends to form, such as metal pipes or exterior walls.
Ventilation and Filtration
- Ensure your HVAC system is properly sized and maintained.
- Replace or clean air filters at the intervals recommended by the manufacturer.
- Consider high-efficiency filters compatible with your system to capture airborne particles, including mold spores.
- Use balanced ventilation strategies (such as energy recovery ventilators, where appropriate) to introduce fresh outdoor air without sacrificing energy efficiency.
Routine Inspections and Maintenance
- Check attics, basements, and crawl spaces regularly for signs of moisture, leaks, or mold.
- Monitor caulking and sealants around tubs, showers, and windows.
- Schedule periodic HVAC inspections and duct evaluations, especially if you notice dust, odors, or uneven airflow.
- Consider follow-up air quality mold inspections if you experience new water damage, major renovations, or recurring health symptoms.
By combining professional inspections with smart maintenance practices, you can keep mold in check and ensure your indoor air remains clean and healthy.
Conclusion: Take Control of Your Indoor Air Quality
An air quality mold inspection is one of the most effective tools for uncovering hidden mold problems, protecting your health, and preserving the value of your home or building. By understanding how mold air testing works, recognizing the warning signs, and choosing a qualified inspector, you can make informed decisions and reduce the risks associated with poor indoor air quality.
If you suspect mold, notice musty odors, or experience unexplained respiratory symptoms indoors, do not wait. Schedule a professional air quality mold inspection to get clear answers and a customized plan to restore a safe, healthy environment for you and your family.
Keep Reading
- Revolutionize Building Maintenance with Cutting-Edge Thermal Imaging Inspection
- Thermal Inspection: Unveiling Hidden Problems for Optimal Building Performance
- How Air Quality Experts Transform Indoor Environments for Better Health
- The Ultimate Guide to WDO Inspection: Protect Your Home from Wood-Destroying Organisms
- Harness the Potential of Thermal Imaging Inspection for Unseen Building Insights